How To Remove and Replace Your Fridge
Removing a built-in fridge doesn’t have to be as difficult as you might expect. By following the instructions below, you can make the process so much smoother. With the right tools and by following the correct precautions, you can remove an integrated fridge without causing damage to the surrounding cabinetry or injuring yourself.
There is no need for this to be a long-drawn out process, with our directions designed to make the task as easy and straightforward as possible. Read on to find out more about how to remove a built in fridge freezer and keep stress to a minimum.
Guide to Removing and Replacing you Fridge
Step 1
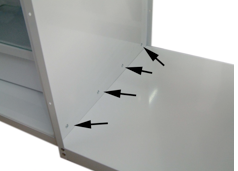
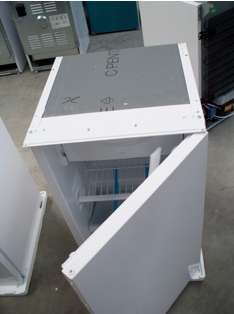
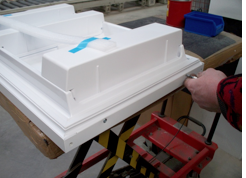
To remove the integrated fridge, take out the four connecting screws from the upper and lower part of the base unit.
Step 2
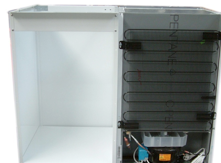
Subsequently the fridge can be pulled out via the front of the compact kitchen.
Step 3
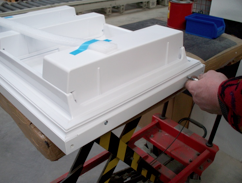
Unpack the replacement fridge.
Step 4
Remove the four screws of the hinge plate at the top of the fridge
Step 5
Remove the hinge plate together with the bolts.
Step 6
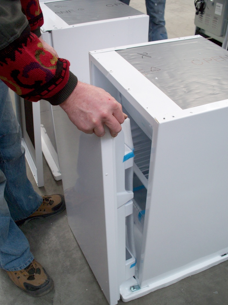
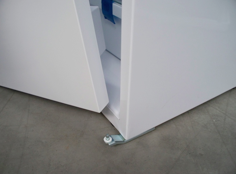
Remove the fridge door and lay the plastic pad in the hinge at the bottom.
Step 7
Remove both screws from the bottom side of the door and take the door out of the cladding.
Step 8
Cut off the caps on both sides of the new fridge door.
Step 9
Lay the door in the cladding and fix it with both screws at the bottom side.
Step 10
Plug the door in the bottom side hinge bolt.
Step 11
Align the door straight to the front, hold the hinge plate to the fridge and replace the hinge bolts.
Step 12
Screw hinge plate to the fridge.
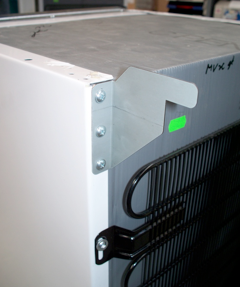
Step 13
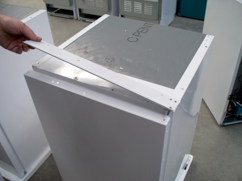
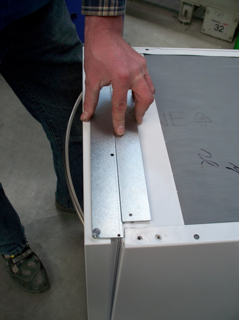
Screw the holding bracket for the pantry top to the back of the new fridge. Subsequently the fridge can slide in underneath the pantry top from the front.

Step 14
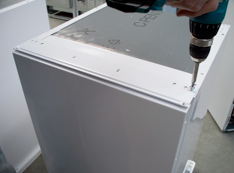
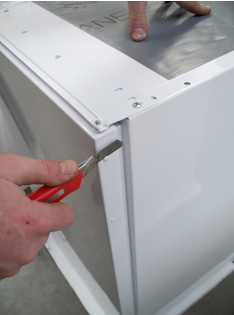
Connect it from the side to the base unit with the four screws.
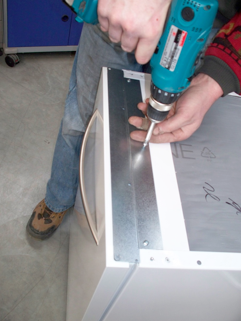
Step 15
The final step in how to remove a built in fridge is to screw in the connecting screw to the underside of the pantry top again.
NEED MORE HELP
If you’ve been searching online for information on how to remove a built in fridge freezer or how to remove an integrated fridge door, we hope that this guide has proved useful. Hopefully, the process isn’t as time-consuming or stressful as you may have predicted! If you need any more advice on how to remove an integrated fridge, feel free to: